Any dieter knows that yogurt is one of your best friends (well the fat free and low fat varieties). Packed full of good bacteria and nutrients, yogurt is a powerhouse of a diet food. We’ve all seen the ads on TV lately about how yogurt can regulate…things. But let’s face it. If you eat a single pot of yogurt a day (one of those 6-8 oz ones), you wind up spending quite a bit on the stuff in the course of a week. And if multiple family members are getting in on the yogurt action–well it really starts to add up.
It never occurred to me that you could make yogurt at home. I was first introduced to the idea when I read French Women Don’t Get Fat. Willing to try almost any diet once, I went right out and picked up a Salton Yogurt Maker for about $20. I liked the idea of making my own yogurt, both for cost effectiveness and so that I could control what got mixed in.
After some experimentation I came up with the following recipe.
Ingredients:
- 4 cups skim milk
- 1/2 cup non-fat powdered milk
- 1/2 cup plain, non-fat yogurt (you’ll start off with store bought and thereafter use some of the yogurt you make as a starter; I prefer Stonyfield Farms Organic plain yogurt as it has the most active cultures)
Directions:
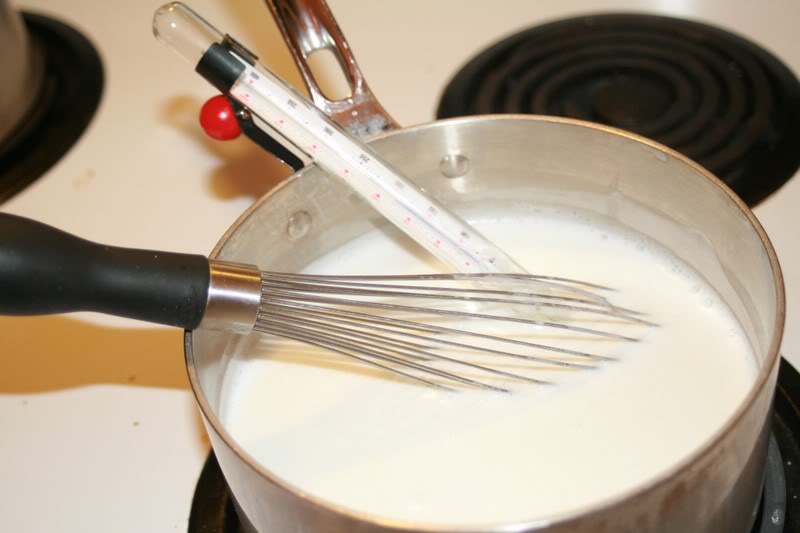
- Pour the milk and powdered milk into a pot and heat over medium heat until just before boiling (about 200 degrees). Stir often. This scalds the milk and kills off any bacteria that would interfere with the good bacteria in the yogurt starter.
- Allow milk to cool to lukewarm (100-110 degrees). You can do this in the fridge (about 20 minutes), freezer (about 10 minutes) or just leave it sitting out (not sure how long–I’m not that patient).
- Pour about a cup of the milk into your yogurt maker. Add the 1/2 cup of plain yogurt and stir gently (don’t whip or beat it) to mix.
- Add the remainder of the milk and stir gently.
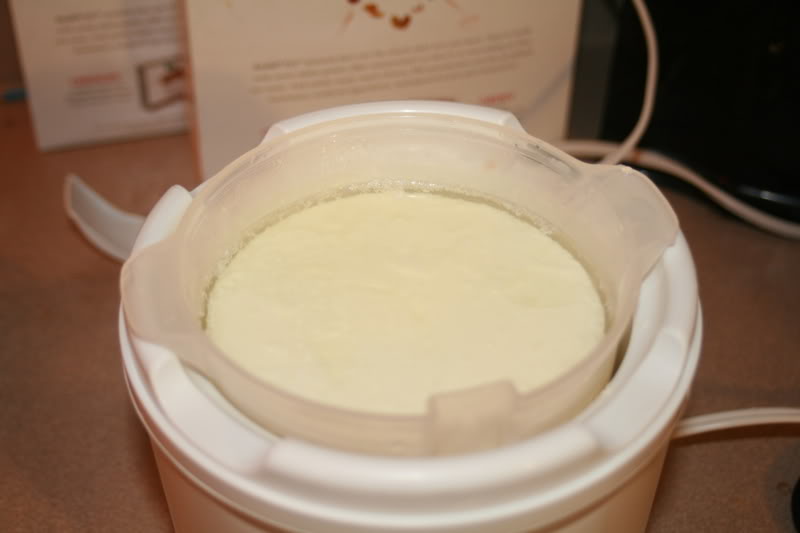
- Add the top of the yogurt maker and allow to process. How long depends on how you like your yogurt. The longer it processes the thicker it will get and the more tart it will taste. I usually process mine for 8-10 hours.
- At the end of processing you will see a sort of yellowish liquid rise to the top. This is perfectly normal. You can either drain it off (I usually do) or stir it into the yogurt.
- Refrigerate until cool.
- Serve with fruit, jams, peanut butter (my personal favorite), or any other mix in of choice. Options for sweetening include Splenda, sugar, or honey. For those of you who live where there’s a Whole Foods or fancy grocery, you may have other all natural sweeteners available.
A few notes: Homemade yogurt is not as smooth as commercial yogurt, but that’s perfectly normal. Be sure to save the last 1/2 cup of yogurt to use as starter for your next batch. Over several batches, the starter will weaken and you’ll eventually want to purchase a new batch of commercial yogurt as fresh starter. The yogurt can be frozen (though keep that 1/2 cup of starter out), though it isn’t going to have the same texture as frozen yogurt from the grocery. One of these days I keep meaning to try it in the ice cream maker, but I haven’t yet.
For those of you who don’t want to purchase your own yogurt maker, Stephanie has figured out how to make yogurt using your crock pot. You can also google to find other recipes and methods, but this is the one that’s worked for me.